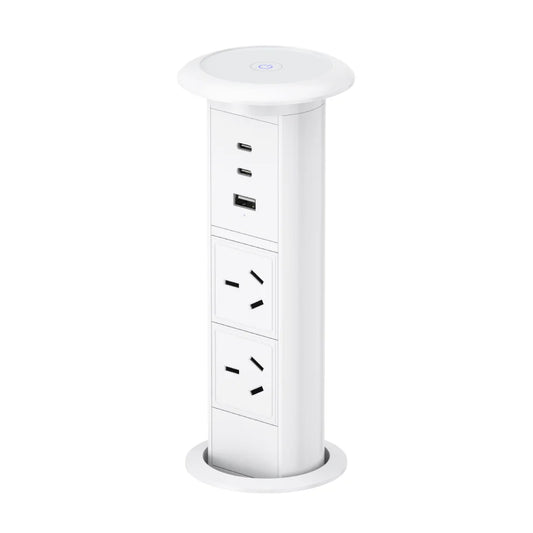
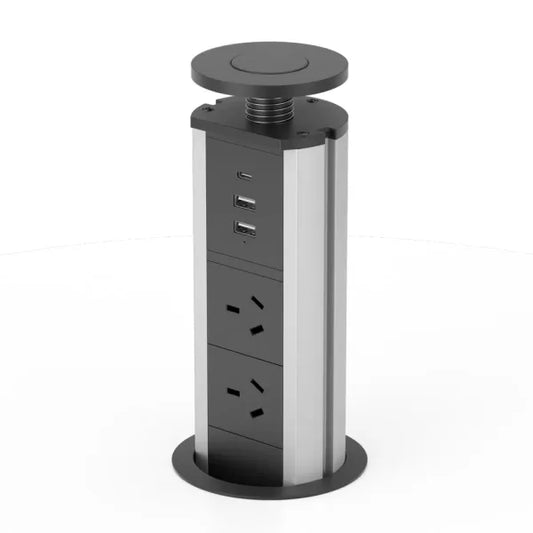
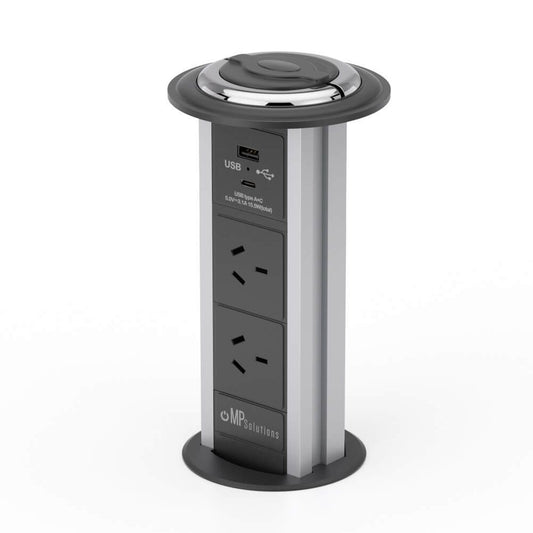
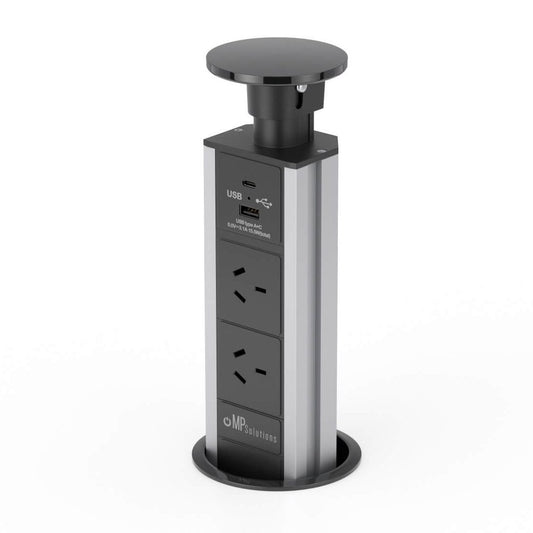
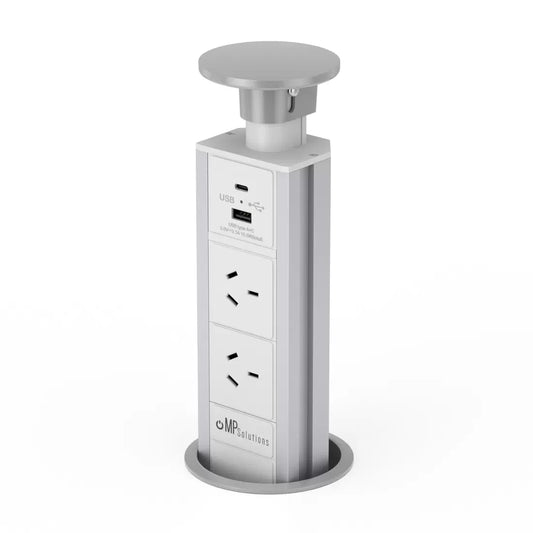
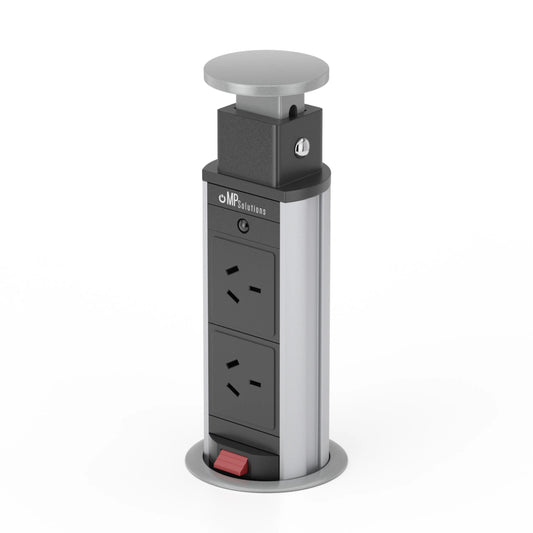
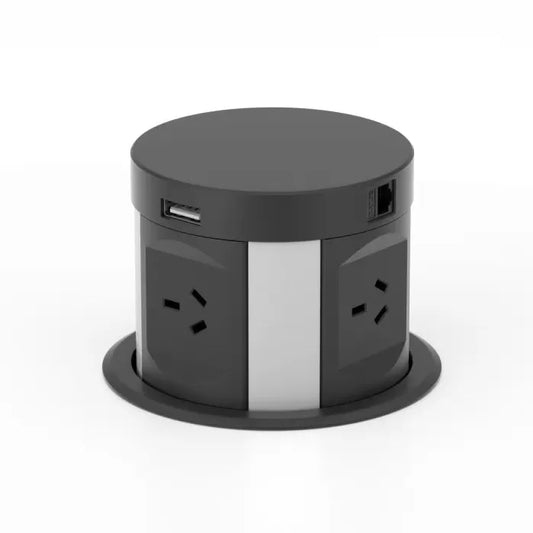
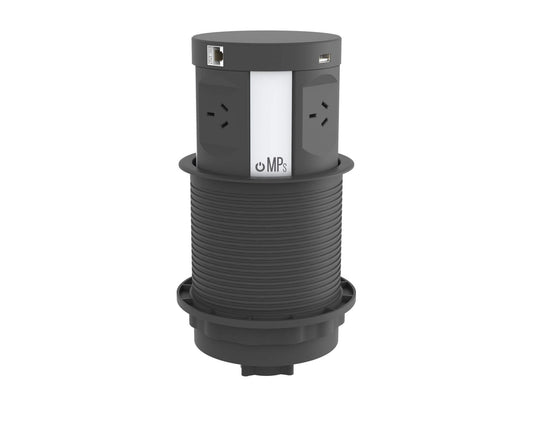
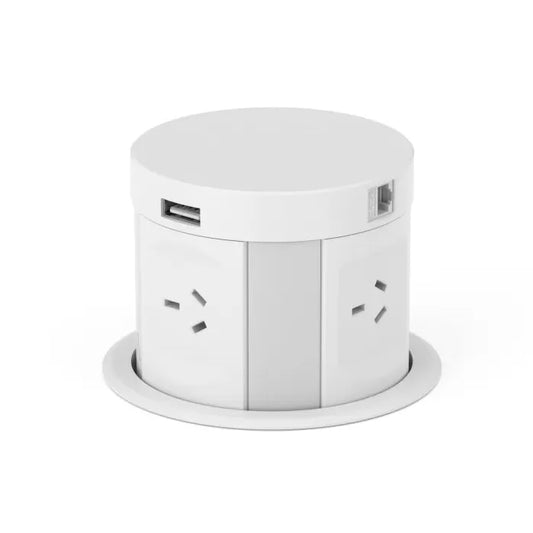
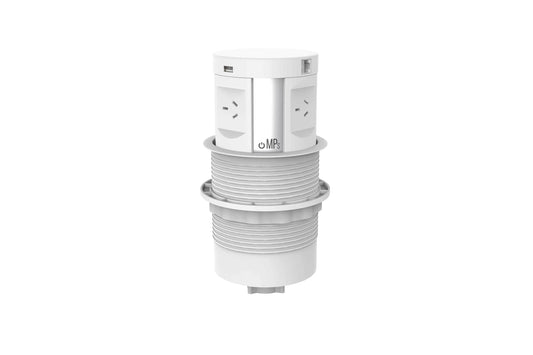
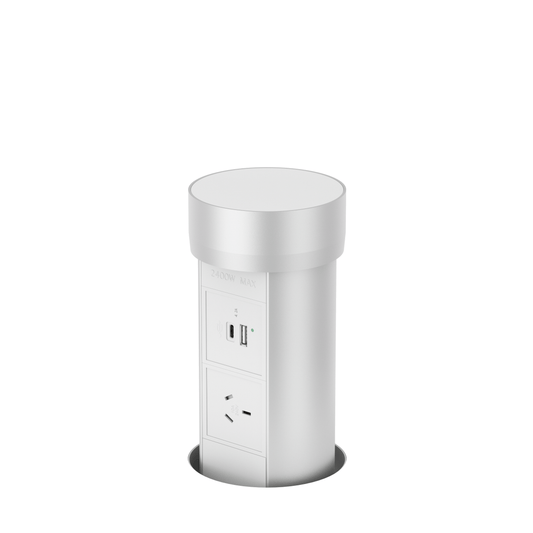
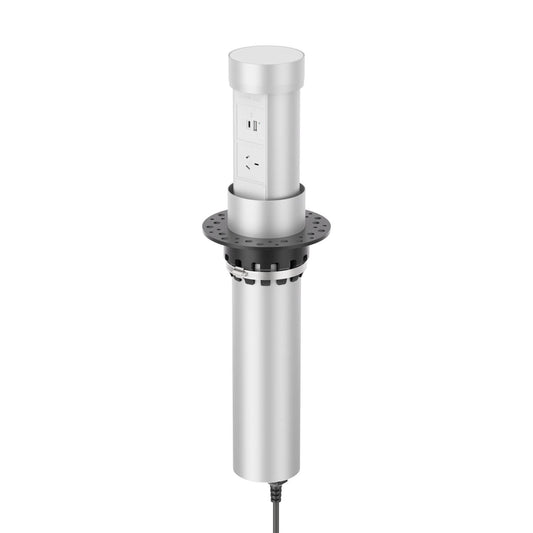
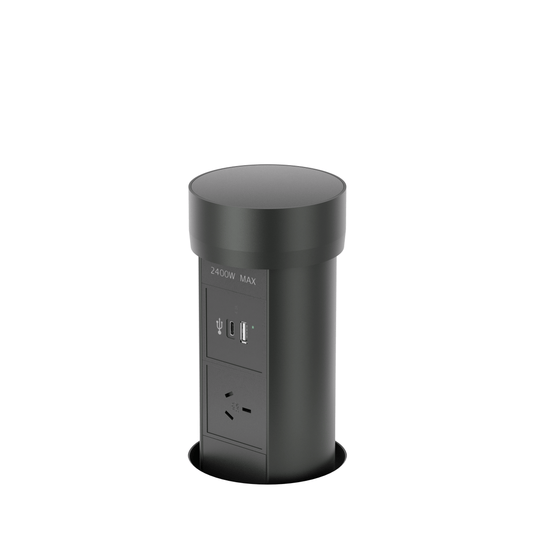
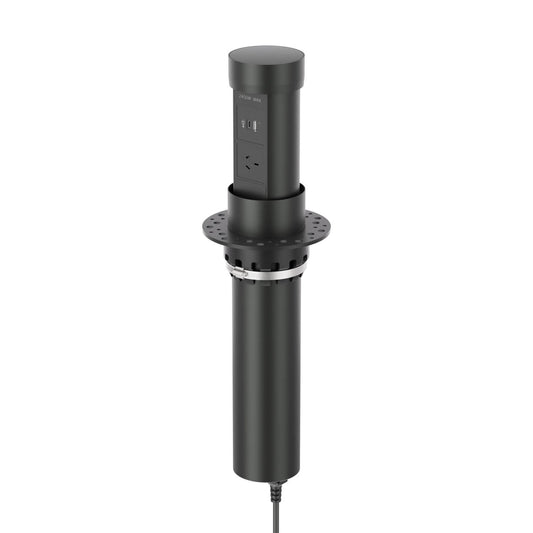
How to Install a Kitchen Pop Up Power Outlet
Seb AroneyPlease note that the installation process for the Point Pod differs slightly. For detailed instructions, please refer to this page.
⚠️ Safety First:
Turn off the power at the circuit breaker before doing any electrical work.
Always follow local electrical codes and regulations.
If in doubt, consult or hire a licensed electrician, especially when working with high-voltage wiring.
🔧 Tools and Materials You’ll Need:
Electric drill
Hole saw attachment for drill (usually 60mm - 120mm, depending on outlet model)
Tape measure
Pencil or marker
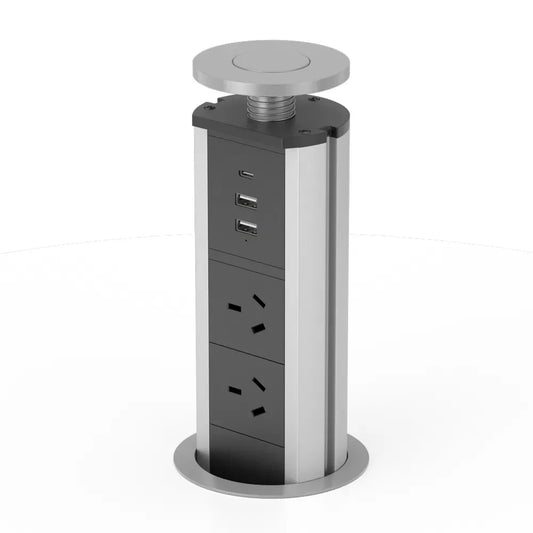
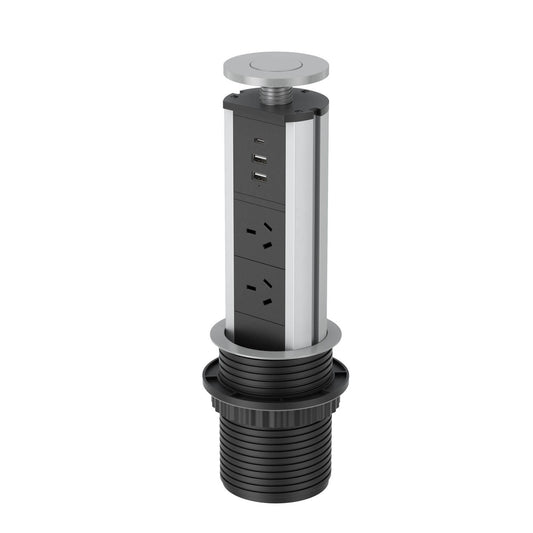
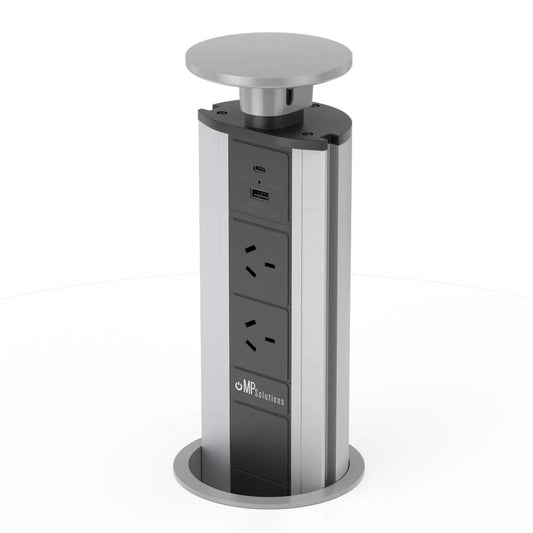
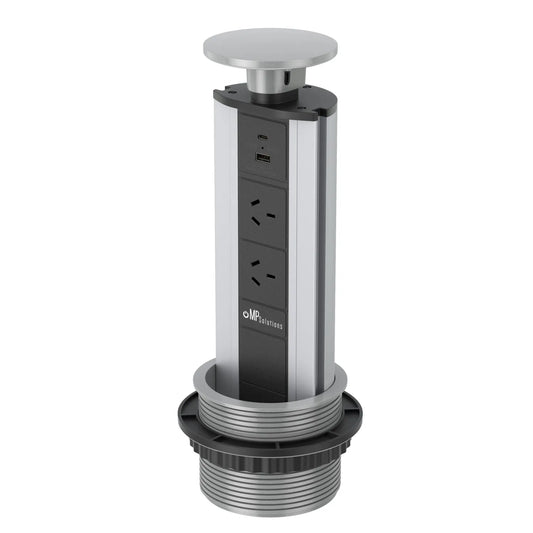
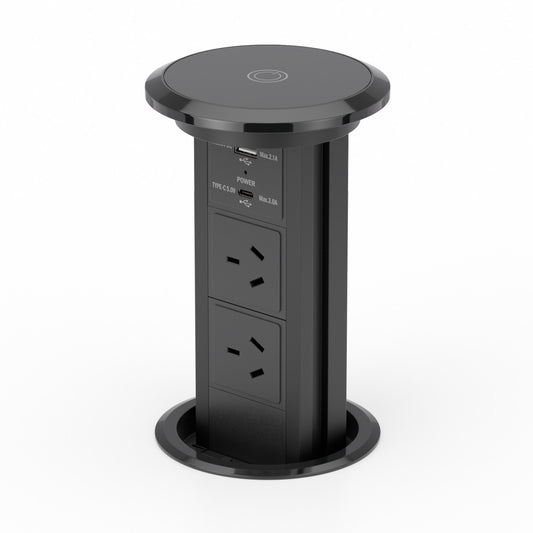
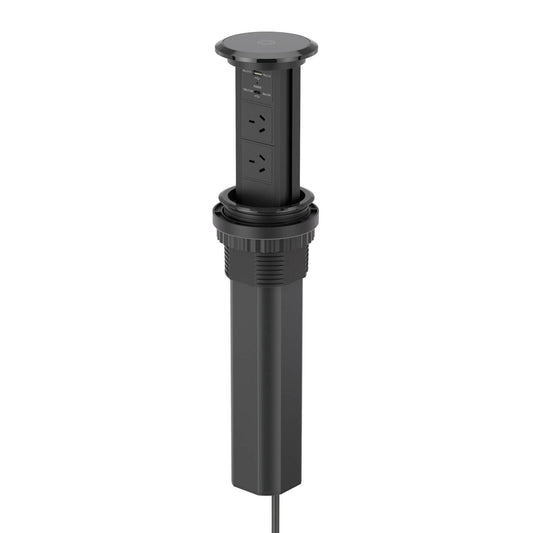
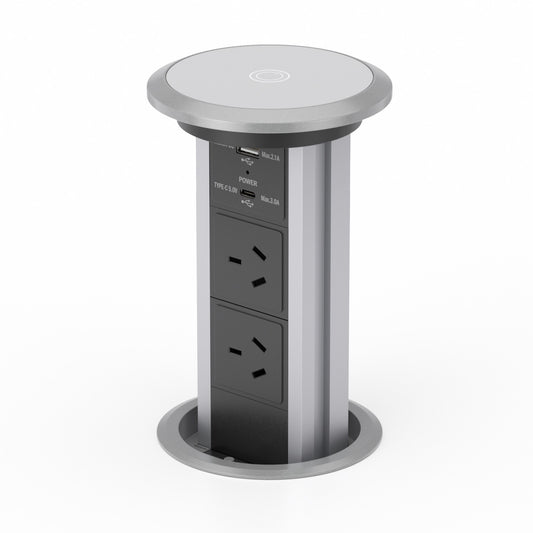
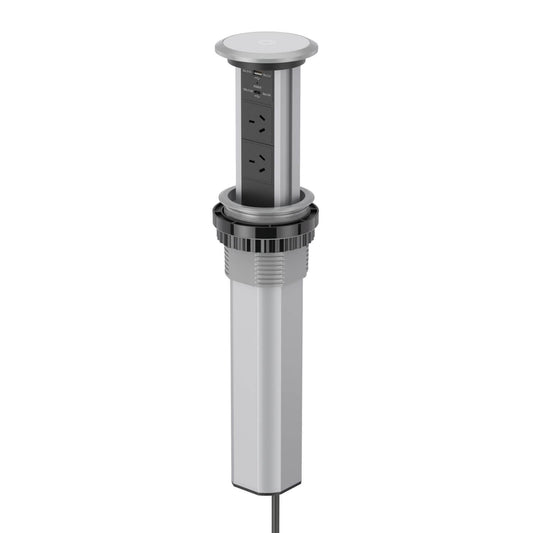
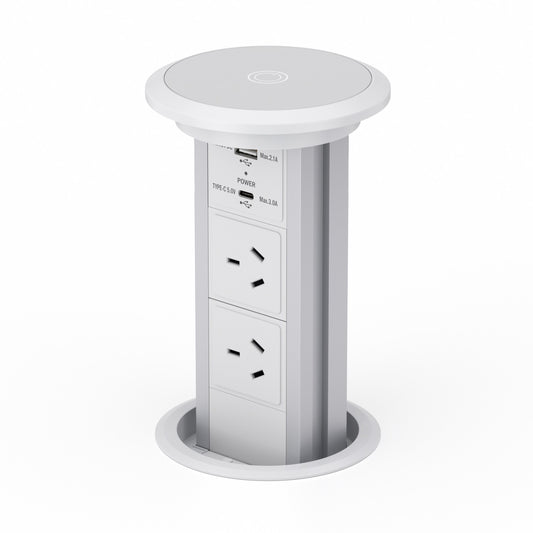
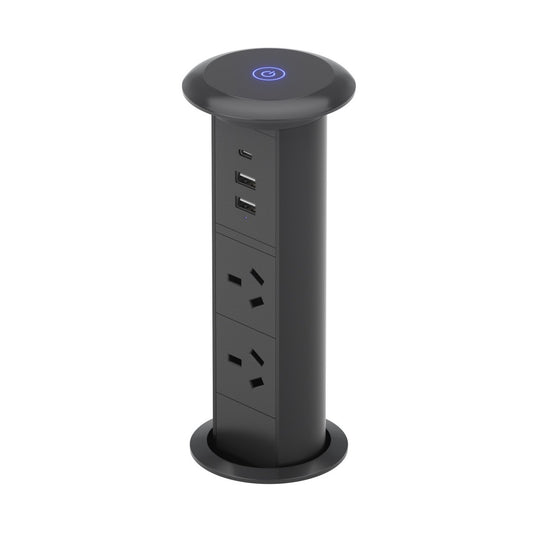
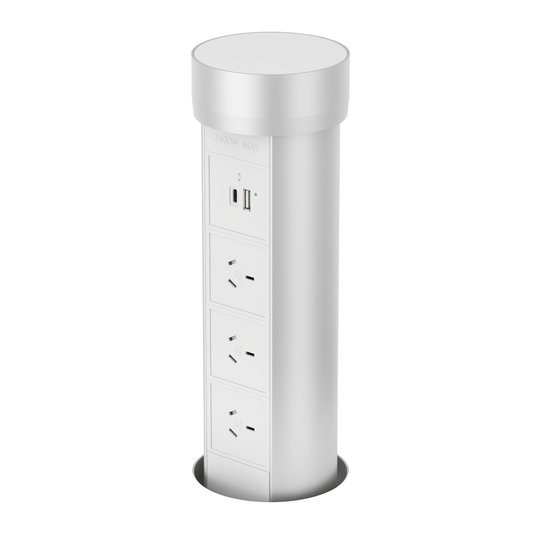
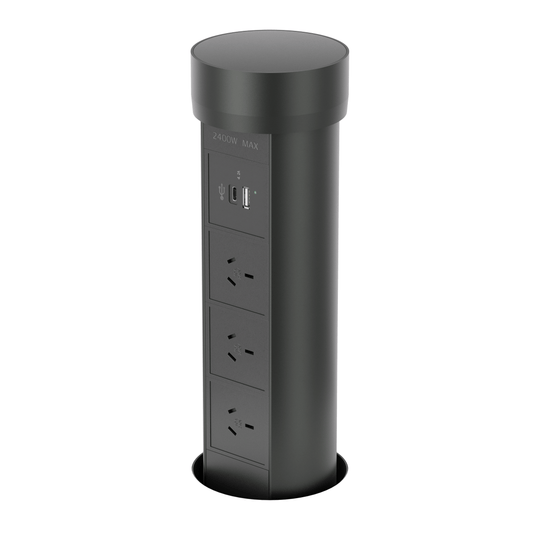
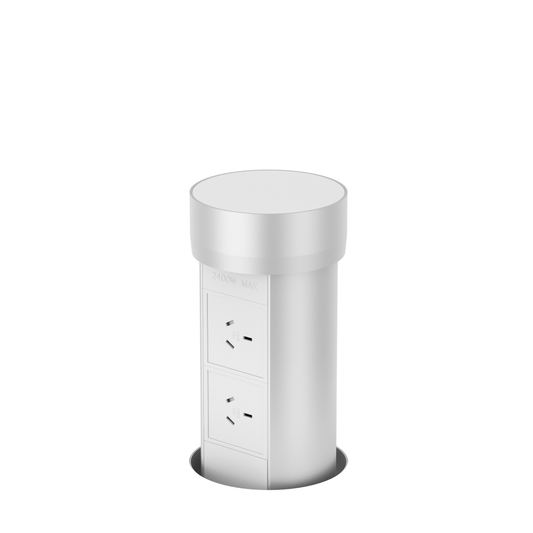
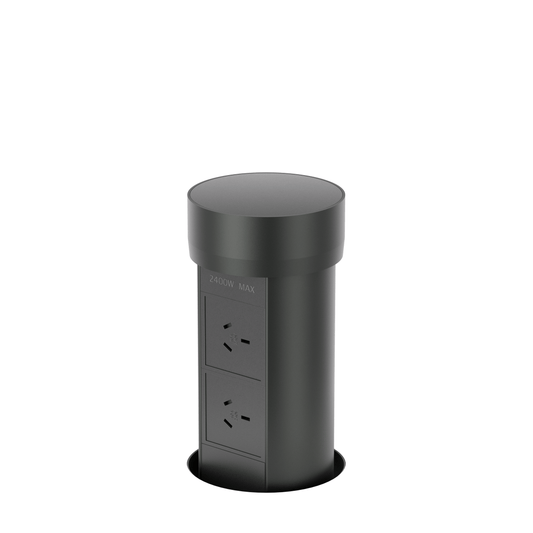
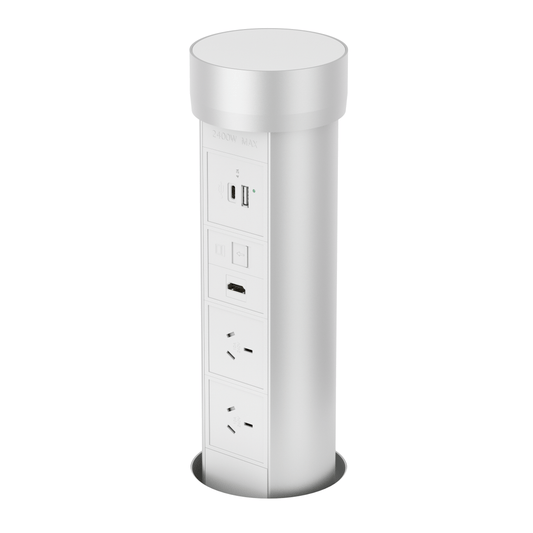
Pop-up power outlet
📋 Step-by-Step Installation Guide
Step 1: Choose the Right Spot
Pick a flat, accessible surface such as:
- A kitchen island
- Office desk
- Workbench or conference table
Ensure:
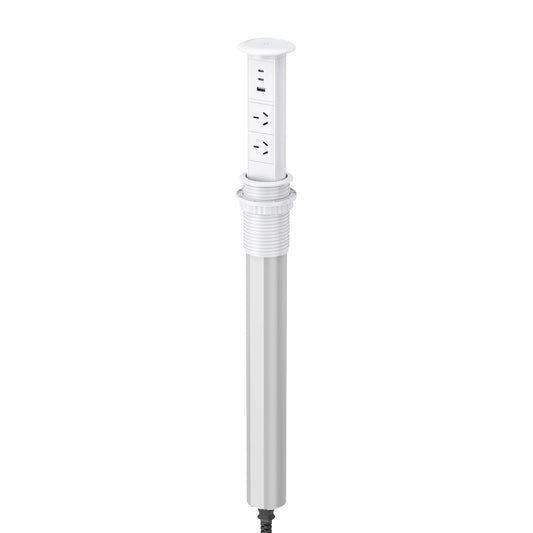
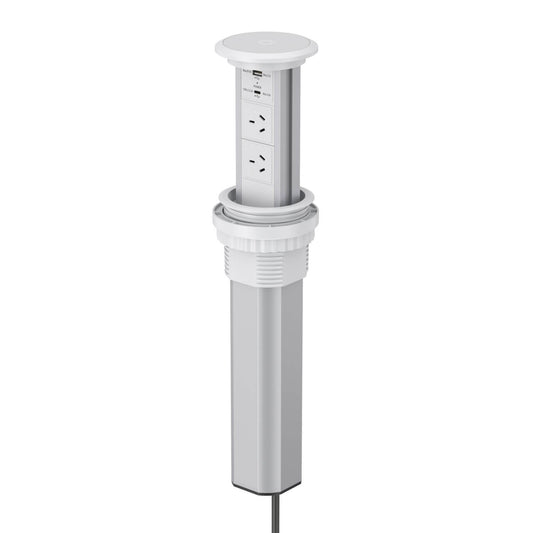
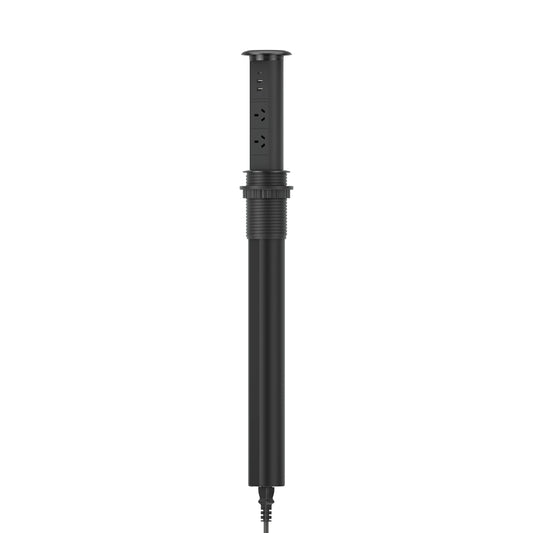
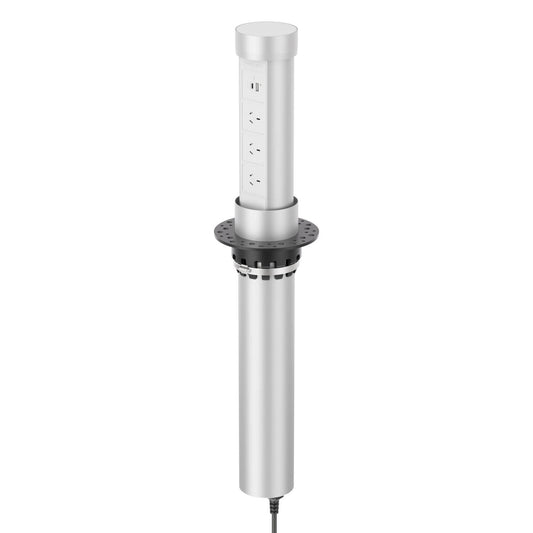
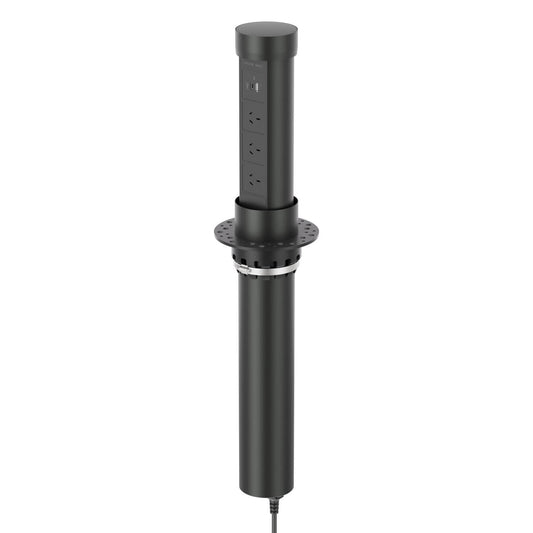
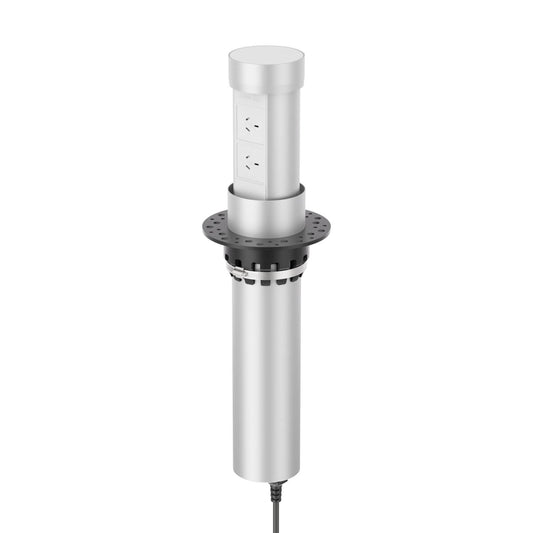
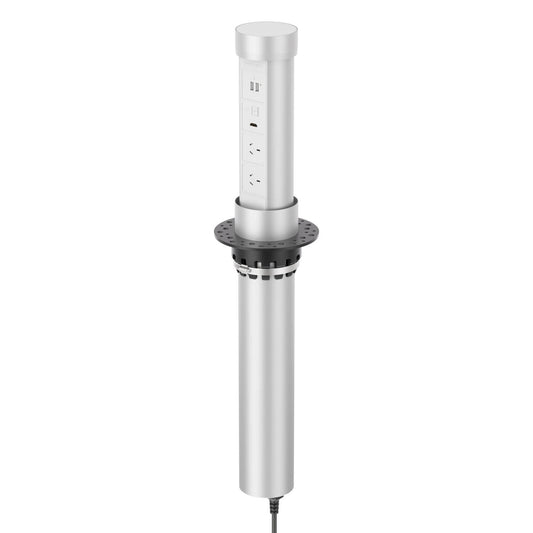
There’s enough clearance below for the unit to retract.
It won’t interfere with drawers, plumbing, or structural supports.
Step 2: Measure and Mark the Hole
Use the template provided with your outlet or measure the unit’s diameter.
Mark the centre point with a pencil.
Use masking tape to outline the area to reduce splintering when drilling.
Step 3: Drill the Hole
Fit your drill with the appropriate-sized hole saw.
Drill slowly and steadily through the surface.
Sand down any rough edges or splinters with sandpaper.

Step 4: Feed the Unit Through
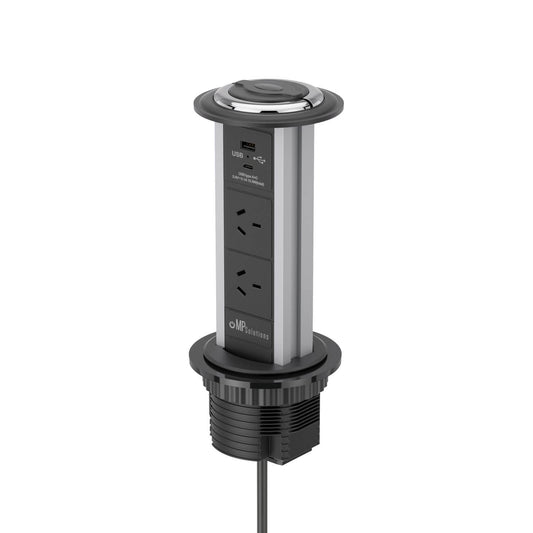
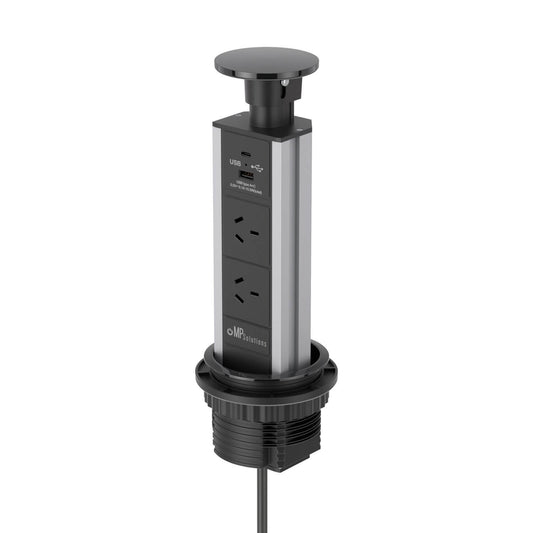
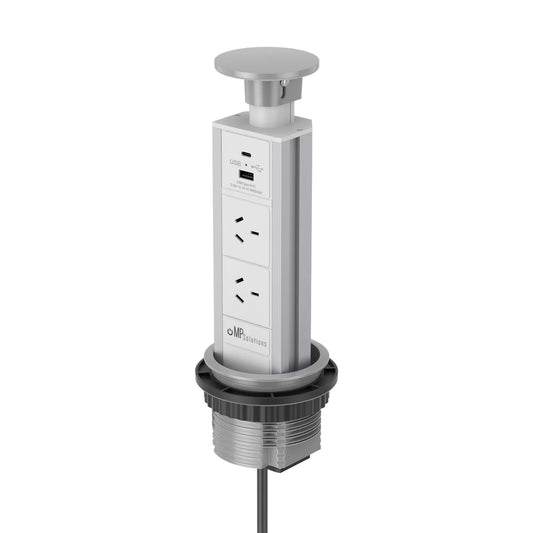
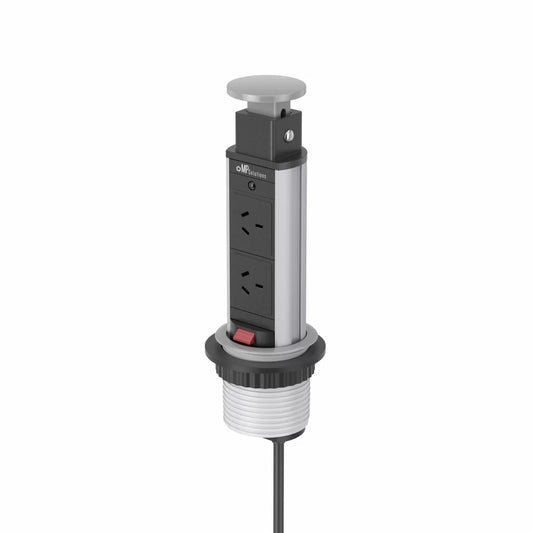
Insert the pop-up outlet through the hole.
Make sure it sits flush with the surface.
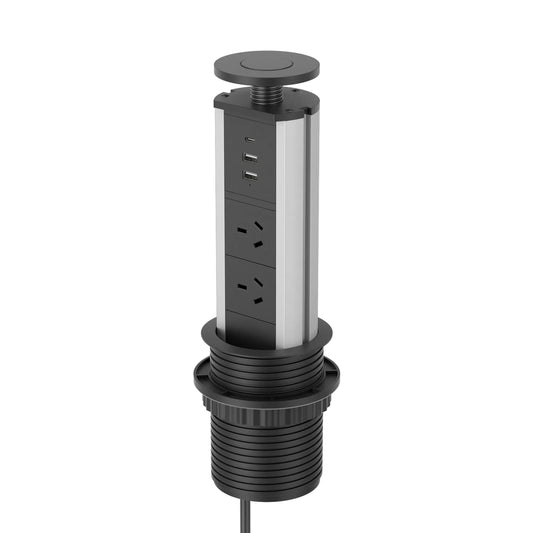
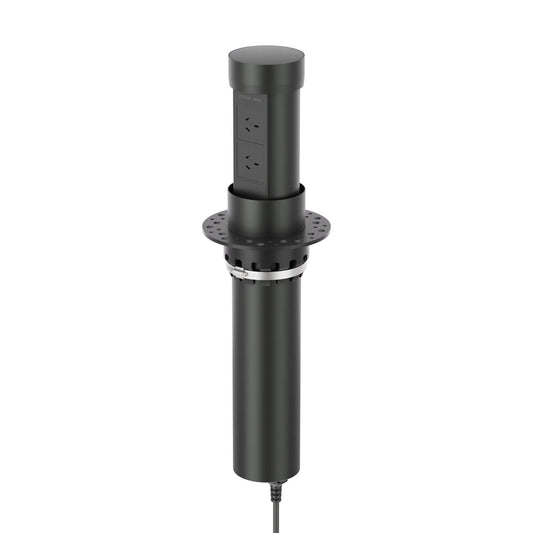
Most models include a tightening ring underneath to secure it in place—tighten this firmly by hand or with a wrench.
Step 5: Wire the Unit
There are two common connection types:
1. Plug-in Models (Most DIY-Friendly):
The outlet comes with a power cord and plug. This applies to all models at Modern Power Solutions.
Simply plug it into a nearby wall socket under the counter or desk.
Use cable clips or conduit to tidy the wire underneath.
2. Hardwired Models (Advanced / Electrician Required):
Turn off power at the breaker.
Connect wires (typically active, neutral, earth) to an existing power circuit or junction box.
Use appropriate cable connectors, and follow all wiring regulations.
Enclose connections in a junction box if needed.
Switch the breaker back on to test.
⚠️ If you’re hardwiring, it’s safest to have a licensed electrician do this part.
Step 6: Test the Outlet
Pop it up and plug in a device (e.g. phone charger or lamp).
Ensure all sockets and USB ports (if included) work.
Test the retraction mechanism — it should smoothly go up and down.
Step 7: Seal the Edges (Optional)
If installing in a kitchen or wet area, run a small bead of silicone sealant around the outer edge of the unit to prevent water ingress.
🎥 Installation Video
✅ Tips and Considerations
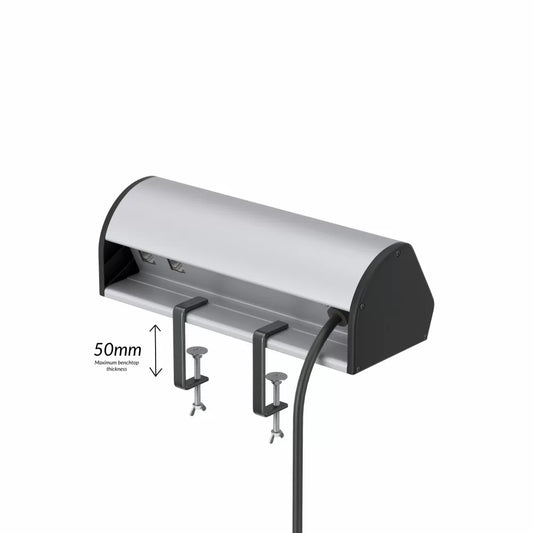
Surface thickness: Check your model’s compatibility with your benchtop thickness (most support up to 50mm).
Clearance height: Ensure there’s enough room under the bench — some pop-up units are up to 500mm deep.
Load capacity: Don’t exceed the power rating of the unit (usually 10A or 15A for USA).
📸 Optional Final Step: Snap a Pic!
Once installed, take a photo of your setup — not only for bragging rights but in case you ever need to troubleshoot or replace the unit.


